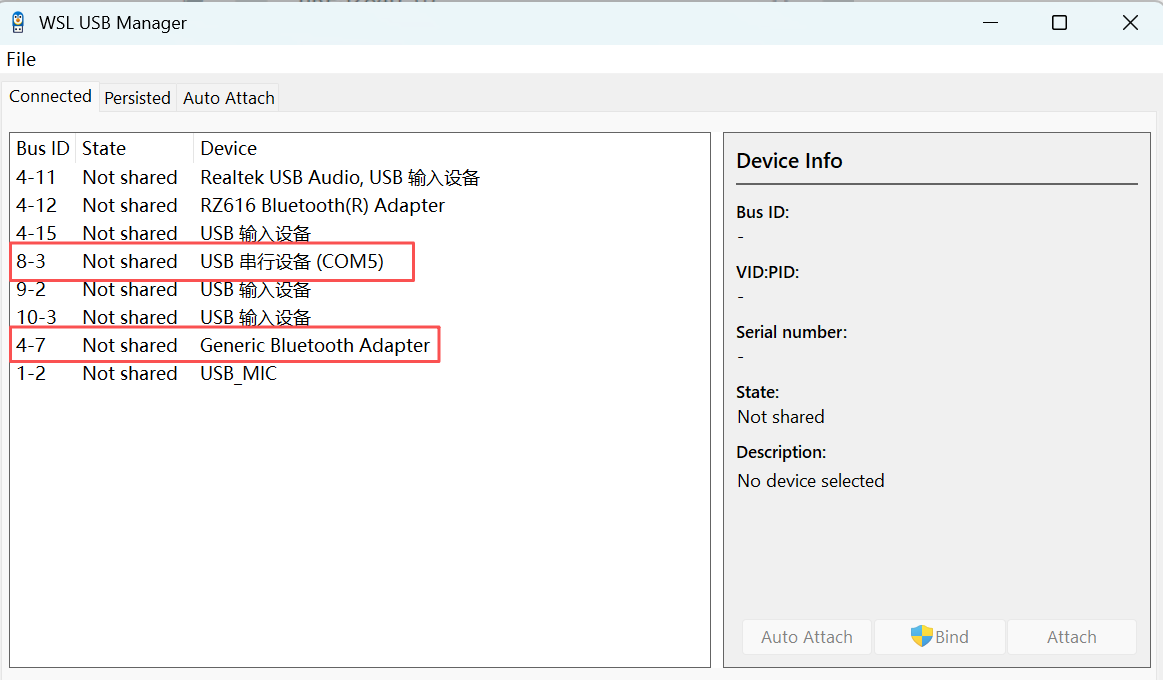
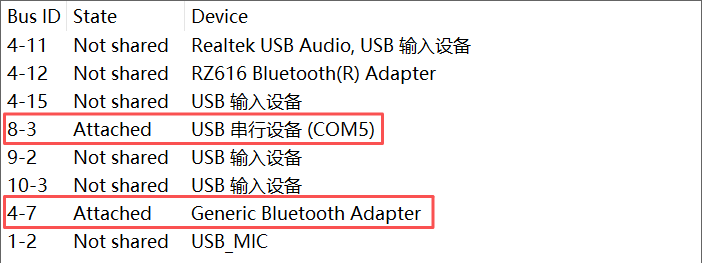
在Windows的WSL USB Manager中查看多出来的两个USB设备,右键点击,先bind,再Attach:
在WSL中检查:
$ lsusb
Bus 001 Device 001: ID 1d6b:0002 Linux Foundation 2.0 root hub
Bus 001 Device 002: ID 1915:0000 Nordic Semiconductor ASA Thread Co-Processor
Bus 001 Device 003: ID 2fe3:000b NordicSemiconductor USB-DEV
Bus 002 Device 001: ID 1d6b:0003 Linux Foundation 3.0 root hub
检查Thread串口tty是否出现:
$ ls /dev/ttyACM*
/dev/ttyACM0
然后检查蓝牙,你可以在bluetoothctl交互式命令中使用power on, list, scan on等进行测试,用exit退出:
sudo ip -6 route add fd11:22::/64 dev otbr0 via fd11:db8:1::2
这是一次性添加,每次重启WSL后要重新执行
检查路由表是否成功添加:
ip -6 route
fd11:22::/64 via fd11:db8:1::2 dev otbr0 metric 1024 pref medium
fd11:db8:1::/64 dev otbr0 proto kernel metric 256 pref medium
fe80::/64 dev eth0 proto kernel metric 256 pref medium
fe80::/64 dev veth2f60c62 proto kernel metric 256 pref medium
fe80::/64 dev otbr0 proto kernel metric 256 pref medium
......
[1758729999.505] [6784:6786] [CTL] Successfully finished commissioning step 'SendComplete'
[1758729999.505] [6784:6786] [CTL] Commissioning stage next step: 'SendComplete' -> 'Cleanup'
[1758729999.505] [6784:6786] [CTL] Performing next commissioning step 'Cleanup'
[1758729999.505] [6784:6786] [CTL] Successfully finished commissioning step 'Cleanup'
[1758729999.505] [6784:6786] [DIS] Closing all BLE connections
[1758729999.505] [6784:6786] [IN] Clearing BLE pending packets.
[1758729999.505] [6784:6786] [BLE] Auto-closing end point's BLE connection.
[1758729999.505] [6784:6786] [DL] Closing BLE GATT connection (con 0x74aa1c024530)
[1758729999.505] [6784:6785] [DL] Close BLE connection: peer=DE:4A:50:3D:16:29
[1758729999.661] [6784:6786] [IN] SecureSession[0x74aa140054c0]: MarkForEviction Type:1 LSID:14320
[1758729999.661] [6784:6786] [SC] SecureSession[0x74aa140054c0, LSID:14320]: State change 'kActive' --> 'kPendingEviction'
[1758729999.661] [6784:6786] [IN] SecureSession[0x74aa140054c0]: Released - Type:1 LSID:14320
[1758729999.661] [6784:6786] [CTL] Commissioning complete for node ID 0x0000000000000101: success
[1758729999.662] [6784:6786] [TOO] Device commissioning completed with success
[1758729999.662] [6784:6785] [DL] BLE connection closed: conn=0x74aa1c024530
[1758729999.662] [6784:6786] [DMG] ICR moving to [AwaitingDe]
[1758729999.662] [6784:6786] [EM] <<< [E:35636i S:14321 M:191290806 (Ack:148794768)] (S) Msg TX from 000000000001B669 to 1:0000000000000101 [5CA5] [UDP:[fd11:22::ae46:4779:ebf3:9b3b]:5540] --- Type 0000:10 (SecureChannel:StandaloneAck) (B:34)
[1758729999.662] [6784:6786] [EM] Flushed pending ack for MessageCounter:148794768 on exchange 35636i
[1758729999.662] [6784:6786] [DL] HandlePlatformSpecificBLEEvent 16390
[1758729999.662] [6784:6786] [BLE] No endpoint for unsubscribe complete
[1758729999.662] [6784:6786] [BLE] No endpoint for connection error
[1758729999.662] [6784:6784] [CTL] Shutting down the commissioner
[1758729999.662] [6784:6784] [PAF] WiFiPAF: Closing all WiFiPAF sessions to shutdown
[1758729999.662] [6784:6784] [CTL] Shutting down the controller
[1758729999.662] [6784:6784] [IN] Expiring all sessions for fabric 0x1!!
[1758729999.662] [6784:6784] [IN] SecureSession[0x74aa1400e6f0]: MarkForEviction Type:2 LSID:14321
[1758729999.662] [6784:6784] [SC] SecureSession[0x74aa1400e6f0, LSID:14321]: State change 'kActive' --> 'kPendingEviction'
[1758729999.662] [6784:6784] [IN] SecureSession[0x74aa1400e6f0]: Released - Type:2 LSID:14321
[1758729999.662] [6784:6784] [FP] Forgetting fabric 0x1
[1758729999.662] [6784:6784] [TS] Pending Last Known Good Time: 2023-10-14T01:16:48
[1758729999.662] [6784:6784] [TS] Previous Last Known Good Time: 2023-10-14T01:16:48
[1758729999.662] [6784:6784] [TS] Reverted Last Known Good Time to previous value
[1758729999.662] [6784:6784] [CTL] Shutting down the commissioner
[1758729999.662] [6784:6784] [PAF] WiFiPAF: Closing all WiFiPAF sessions to shutdown
[1758729999.662] [6784:6784] [CTL] Shutting down the controller
[1758729999.662] [6784:6784] [CTL] Shutting down the System State, this will teardown the CHIP Stack
[1758729999.662] [6784:6784] [DMG] All ReadHandler-s are clean, clear GlobalDirtySet
[1758729999.662] [6784:6784] [FP] Shutting down FabricTable
[1758729999.662] [6784:6784] [TS] Pending Last Known Good Time: 2023-10-14T01:16:48
[1758729999.662] [6784:6784] [TS] Previous Last Known Good Time: 2023-10-14T01:16:48
[1758729999.662] [6784:6784] [TS] Reverted Last Known Good Time to previous value
[1758729999.666] [6784:6784] [DL] Wrote settings to /tmp/chip_counters.ini
[1758729999.666] [6784:6784] [DL] NVS set: chip-counters/total-operational-hours = 0 (0x0)
[1758729999.666] [6784:6784] [DL] Inet Layer shutdown
[1758729999.666] [6784:6784] [DL] BLE Layer shutdown
[1758729999.666] [6784:6784] [DL] WiFi-PAF Layer shutdown
[1758729999.666] [6784:6784] [PAF] WiFiPAF: Closing all WiFiPAF sessions to shutdown
[1758729999.666] [6784:6784] [DL] System Layer shutdown
# from Thread RCP USB Dongle # Nordic VID:PID = 1915:0000 VID="1915" PID="0000"
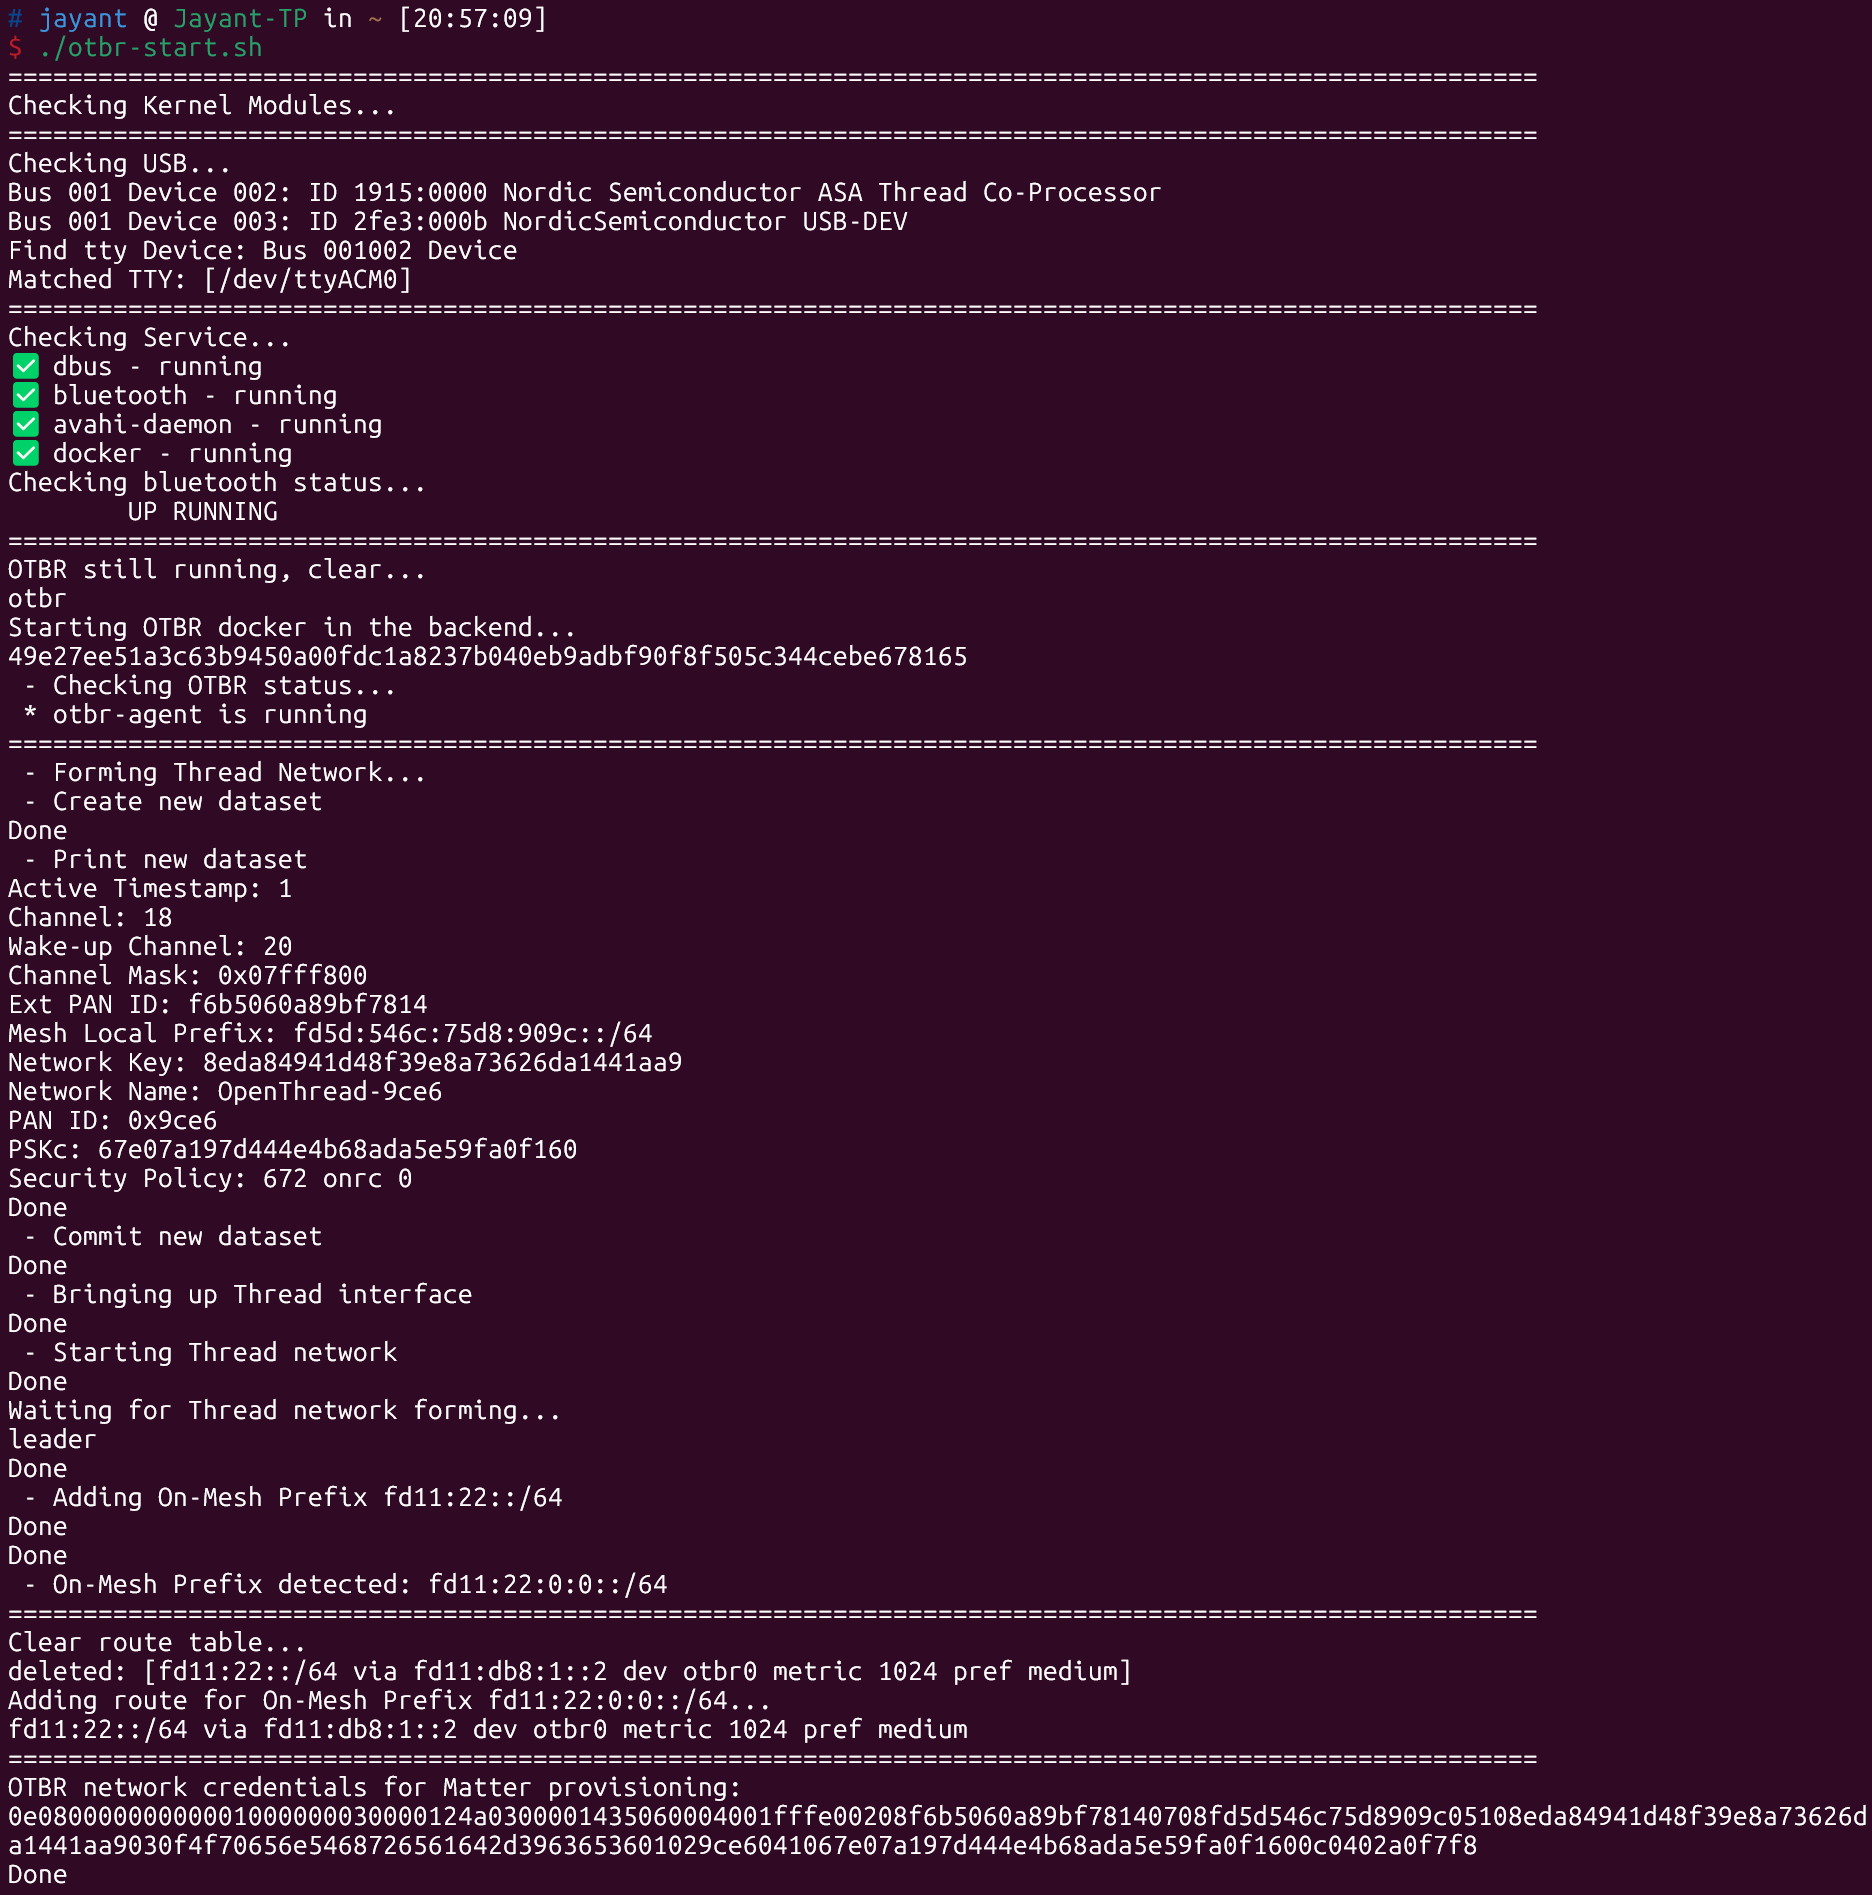
## dependency check echo ====================================================================================================== echo"Checking Kernel Modules..." lsmod | grep -q btusb if [ $? -ne 0 ]; then sudo modprobe btusb fi lsmod | grep -q ip6table_filter if [ $? -ne 0 ]; then sudo modprobe ip6table_filter fi
echo ====================================================================================================== echo"Checking USB..." lsusb | grep "Thread Co-Processor" if [ $? -ne 0 ]; then echo"No Nordic Thread RCP device found. Please plug in the device and try again." exit 1 fi lsusb | grep "NordicSemiconductor USB-DEV" if [ $? -ne 0 ]; then echo"No Nordic BLE device found. Please plug in the device and try again." exit 1 fi
# find Thread RCP tty bus_device=$(lsusb | grep "$VID:$PID" | awk '{print $2":"$4}' | sed 's/://' | sed 's/$//')
if [ -n "$bus_device" ]; then bus=$(echo"$bus_device" | cut -d':' -f1) device=$(echo"$bus_device" | cut -d':' -f2) echo"Find tty Device: Bus $bus Device $device" for otrcp_tty in /dev/ttyACM*; do if [ -e "$otrcp_tty" ]; then tty_name=$(basename"$otrcp_tty")
udev_info=$(udevadm info --name="$otrcp_tty" --query=property) ifecho"$udev_info" | grep -q "ID_VENDOR_ID=$VID" && echo"$udev_info" | grep -q "ID_MODEL_ID=$PID"; then echo"Matched TTY: [$otrcp_tty]" found=1 fi fi done if [ $found -eq 0 ]; then echo"USB exists, but no corresponding ttyACM interface found." exit 1 fi else echo"No USB device found with VID:PID = $VID:$PID" exit 1 fi
echo ====================================================================================================== echo"Checking Service..." services="dbus bluetooth avahi-daemon docker" for service in$services; do if systemctl is-active --quiet "$service"; then echo"✅ $service - running" else echo"❌ $service - stopped" fi done
echo"Checking bluetooth status..." hciconfig | grep "UP RUNNING" if [ $? -ne 0 ]; then echo"BLE HCI dongle not working" exit 1 fi
echo ====================================================================================================== ## Checking OTBR docker docker ps --filter="name=otbr" | grep -q "otbr" if [ $? -eq 0 ]; then echo"OTBR still running, clear..." docker stop otbr while docker ps -a --filter "name=otbr" | grep -q "otbr"; do sleep 1 done fi
## Starting OTBR docker echo"Starting OTBR docker in the backend..."
# add `-d` to run container in the background # add `--rm` to auto-remove container when it stops sudo docker run -it --rm -d --privileged --name otbr --network otbr -p 8080:80 \ --sysctl "net.ipv6.conf.all.disable_ipv6=0 net.ipv4.conf.all.forwarding=1 net.ipv6.conf.all.forwarding=1" \ --volume $otrcp_tty:/dev/radio nrfconnect/otbr:fbde28a --radio-url spinel+hdlc+uart:///dev/radio?uart-baudrate=1000000
sleep 4
echo" - Checking OTBR status..." docker exec -it otbr sh -c "sudo service otbr-agent status"
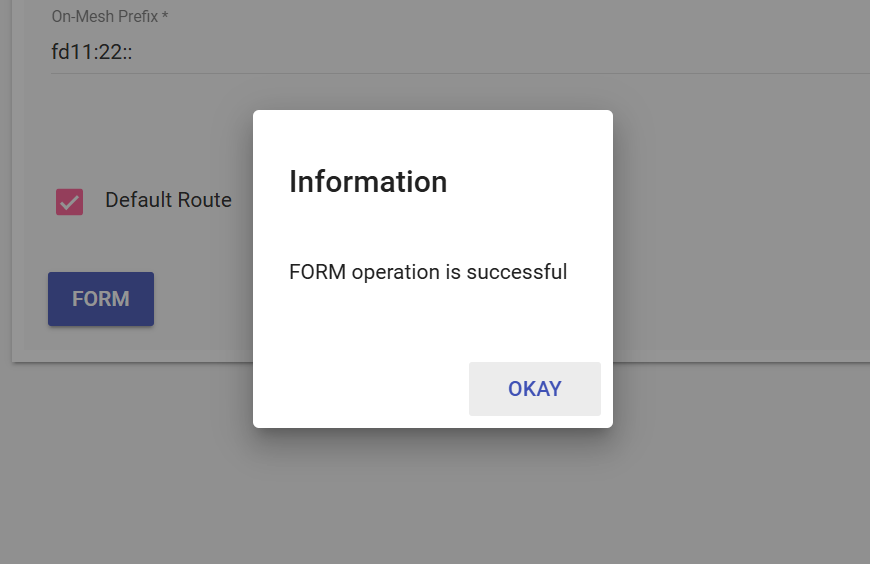
## Form the Thread Network echo ====================================================================================================== echo" - Forming Thread Network..." set -e
echo" - Create new dataset" docker exec -it otbr ot-ctl dataset init new